


Your wedding day or big event is coming up, and you want your smile to look its absolute best in all those photos.
You’re probably wondering exactly when you should start whitening your teeth to get great results without any last-minute problems.
For professional whitening treatments, you should schedule your appointment 1-2 weeks before your event, while at-home whitening kits work best when you start 2-3 weeks ahead.
Timing matters more than you might think. Starting too close to your event could leave you dealing with tooth sensitivity or uneven results right when you need to look your best.
Starting too early means your bright smile might fade before the big day arrives. Getting the timing right helps you avoid these problems and ensures your teeth look their whitest when it matters most.
The good news is that with proper planning, you can achieve a confident, camera-ready smile for your special occasion.
Whether you choose professional whitening or at-home kits, understanding the timeline and following the right steps will help you get the results you want without stress or discomfort.
Key Takeaways
- Professional whitening should be done 1-2 weeks before your event, while at-home treatments need 2-3 weeks for best results
- Starting your whitening timeline early gives your teeth time to stabilize and any sensitivity to go away before the big day
- Avoiding staining foods and drinks after whitening helps maintain your bright smile until your event
Learn when to whiten teeth before wedding plans for a brighter, photo-ready smile.
Table of Content
- Choosing the Right Teeth Whitening Method
- Creating a Whitening Timeline for Your Event
- Minimizing Sensitivity and Managing Side Effects
- Maintaining Your Whitening Results Before the Event
- Tips for a Camera-Ready Smile on the Big Day
- Frequently Asked Questions
Choosing the Right Teeth Whitening Method
Different teeth whitening methods work at different speeds and produce varying results. Your choice depends on your timeline, budget, and how much whitening you want to achieve.
Professional In-Office Whitening vs. At-Home Options
Professional teeth whitening at your dentist’s office delivers the fastest and most dramatic results.
In-office whitening uses powerful bleaching agents that can lighten your teeth several shades in just one appointment lasting 60 to 90 minutes.
This method works well if you have limited time before your event.
At-home whitening kits offer more flexibility and cost less than professional treatments. You can choose between dentist-prescribed take-home whitening kits or over-the-counter products from drugstores.
Take-home whitening from your dentist typically requires consistent daily use for about 2 weeks to see full results.
Over-the-counter options take longer to work but fit tight budgets. These products contain lower concentrations of bleaching agents, which means you need to use them for several weeks to notice changes.
Types of Whitening Products: Strips, Pens, Trays, and Toothpaste
Whitening strips are thin, flexible pieces of plastic coated with peroxide gel. You wear them for 30 minutes once or twice daily for two weeks. They’re affordable and easy to use, but may not reach all tooth surfaces evenly.
Whitening pens let you paint gel directly onto your teeth. They work well for touch-ups but don’t provide comprehensive whitening. You’ll need to reapply them frequently throughout the day.
Whitening trays hold gel against your teeth for longer contact time. This method produces better results than strips or pens because the gel stays in place and covers all visible tooth surfaces.
Whitening toothpaste removes surface stains through gentle abrasives and chemical agents. It maintains whiteness but won’t dramatically change your tooth color.
Use it as part of your daily routine rather than your primary whitening method.
Custom vs. Over-the-Counter Whitening Trays
Custom whitening trays from your dentist fit your teeth precisely because they’re made from molds of your mouth. This perfect fit prevents gel from leaking onto your gums and ensures even coverage across all teeth.
Custom trays work with stronger bleaching gels that produce faster, more noticeable results.
Over-the-counter trays use a one-size-fits-all or boil-and-bite design. These generic trays often feel bulky and may not seal properly against your teeth.
Gel can leak out and irritate your gums, wasting product and causing discomfort.
The cost difference is significant. Custom trays typically cost $200 to $500, while drugstore versions range from $20 to $100.
However, custom trays last for years and deliver more predictable results for important events like getting a bright smile for your wedding day.
Schedule a consultation in Liberty, NC to plan teeth whitening before your wedding.
Creating a Whitening Timeline for Your Event
The key to achieving your brightest smile is starting teeth whitening before a wedding at the right time and booking your dental check-up well in advance.
Most whitening methods need several weeks to show full results, and leaving room for touch-ups protects you from last-minute stress.
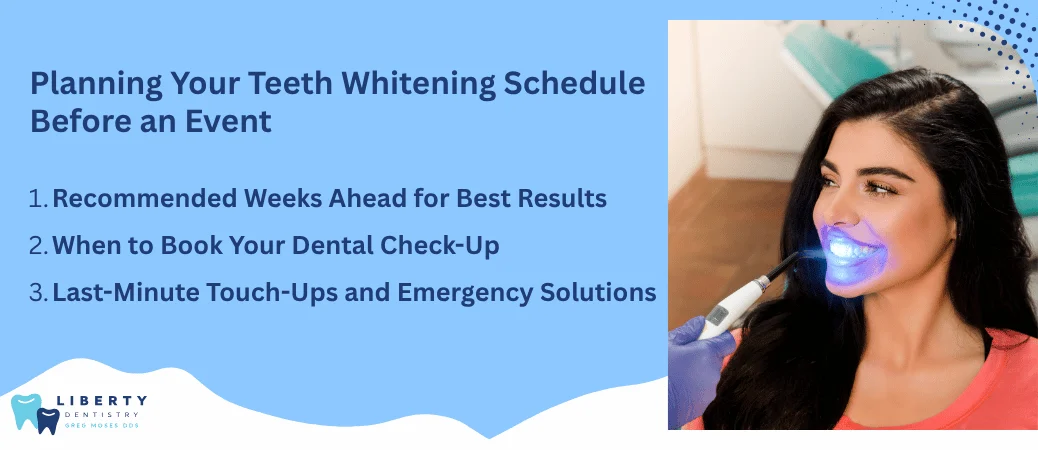
Recommended Weeks Ahead for Best Results
Your wedding teeth whitening timeline depends on which method you choose.
In-office whitening delivers results in one session, but you should still complete it 3 to 5 days before your event to let sensitivity fade and allow your teeth to reach peak brightness.
For take-home whitening trays from your dentist, start 4 to 6 weeks ahead. These trays use lower peroxide levels than in-office treatments, so you’ll apply them over multiple sessions.
This gives you time to build up brightness gradually while managing any sensitivity.
At-home teeth whitening products like strips or gels need even more lead time. Plan to begin 6 to 8 weeks before your big day since over-the-counter products contain the lowest peroxide concentrations.
This extended timeline lets you complete enough sessions to see real change while spacing them out to protect your enamel.
When to Book Your Dental Check-Up
Schedule your dental check-up 8 to 12 weeks before your event. This appointment catches any cavities, gum issues, or cracked fillings that would make whitening painful or ineffective.
Your dentist will also do a professional cleaning during this visit. The cleaning removes tartar and surface stains that whitening products can’t touch, giving you a cleaner base to start from.
If your dentist finds problems that need fixing, you’ll have time to get that work done and still complete your whitening plan.
Waiting until the last minute means you might have to choose between fixing dental issues and whitening your teeth.
Use this appointment to discuss which whitening method fits your timeline and budget. Your dentist can recommend whether you need professional treatment or if take-home whitening will work for your goals.
Last-Minute Touch-Ups and Emergency Solutions
If you’re starting with only two weeks until your event, you still have options. Book an in-office whitening session right away, or start an accelerated at-home schedule with treatments every other day.
For touch-ups in your final week, use whitening toothpaste daily but stop all other treatments 48 hours before your event. This prevents sensitivity when you’re eating cake or drinking toasts.
If you notice sensitivity or uneven spots mid-treatment, stop whitening immediately. Switch to a sensitivity toothpaste and give your teeth 3 to 4 days to recover.
Most issues resolve on their own once you pause treatment.
On event day itself, stick to whitening toothpaste only. Choose a blue-toned lipstick or lip gloss since these shades make teeth look whiter in photos through color contrast.
Contact our team in Liberty, NC to ask about whitening options before your big day.
Minimizing Sensitivity and Managing Side Effects
Teeth whitening can cause temporary discomfort, but knowing what triggers sensitivity and how to manage it helps you prepare better.
The right timing and care methods protect your teeth while still giving you great results.
![[Liberty Dentistry] Cosmetic - NPG Magazine + Gift Card](https://libertydentistrysmiles.com/wp-content/uploads/Liberty-Dentistry-Cosmetic-NPG-Magazine-Gift-Card.webp)
Understanding Whitening Sensitivity
Whitening sensitivity happens when bleaching agents reach the inner layer of your tooth called the dentin. This layer contains tiny tubes that connect to your tooth’s nerve center.
When whitening products open up the enamel’s pores, they allow these agents to move deeper into the tooth structure.
Your teeth might feel sharp pain when exposed to hot or cold temperatures. Some people also experience a tingling sensation or general discomfort that can last from a few hours to several days.
The intensity varies based on your natural tooth sensitivity, the whitening method you choose, and how strong the whitening agent is.
People with existing sensitivity, thin enamel, or exposed tooth roots face higher risks. Recent dental work like fillings or crowns can also increase your chances of discomfort during treatment.
How to Reduce Post-Whitening Sensitivity
Start using a toothpaste made for sensitive teeth at least two weeks before your whitening treatment. These products contain ingredients like potassium nitrate that block pain signals from reaching your tooth’s nerve.
Apply fluoride gel or desensitizing treatments right after whitening sessions to strengthen your enamel and reduce discomfort. Many dentists provide these products as part of post-whitening care.
Avoid very hot or cold foods and drinks for 24-48 hours after treatment. Skip acidic beverages like soda, citrus juices, and wine during this time since they can increase sensitivity.
Use a soft-bristled toothbrush and gentle brushing technique. Aggressive brushing can irritate already sensitive teeth.
Consider spacing out your whitening sessions if you experience significant discomfort between treatments.
Importance of a Sensitivity Baseline Test
A sensitivity baseline test identifies how your teeth respond to whitening before you commit to a full treatment.
Your dentist applies a small amount of whitening product to one or two teeth and monitors your reaction over 24 hours.
This test reveals whether you need special desensitizing treatments or a lower concentration whitening product.
It’s especially valuable when whitening for sensitive teeth before big events since it prevents uncomfortable surprises close to your wedding or special occasion.
Starting this test three to four weeks before your event gives you time to adjust your treatment plan if needed. You can switch to gentler methods or add extra sensitivity protection without rushing.
Maintaining Your Whitening Results Before the Event
Once you complete your whitening treatments, protecting your results becomes your top priority.
The right dietary choices, daily oral care habits, and strategic touch-ups can keep your smile bright right up to your big day.
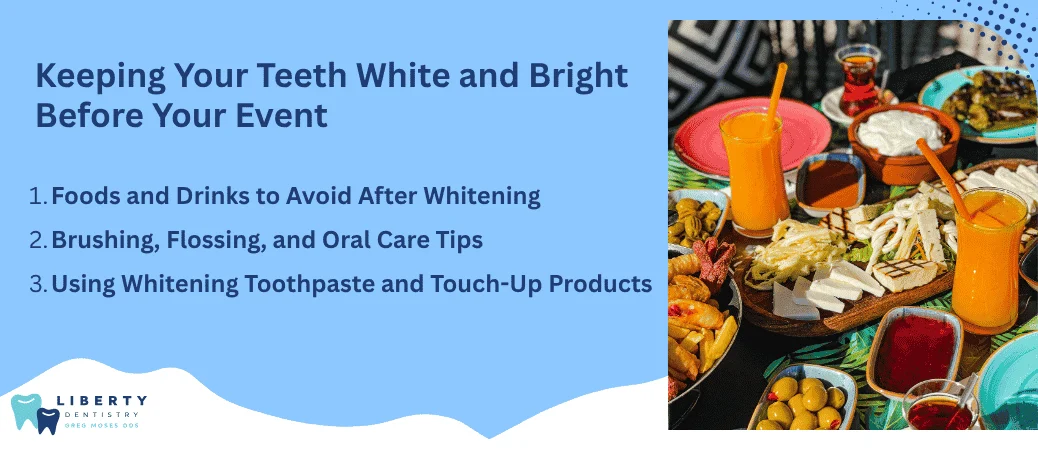
Foods and Drinks to Avoid After Whitening
Your teeth are more vulnerable to staining for 48 to 72 hours after each whitening session. During this window, your enamel is temporarily more porous, which means it absorbs pigments faster than usual.
You should avoid staining foods and drinks like coffee, tea, red wine, and dark sodas. Tomato-based sauces, soy sauce, and balsamic vinegar can also discolor your newly whitened teeth.
Berries, beets, and foods with turmeric or curry should stay off your plate during these critical days.
In the final week before your event, expand these restrictions to protect your investment. Stick to lighter-colored foods like chicken, fish, white rice, cauliflower, and bananas.
If you must drink something dark, use a straw to minimize contact with your teeth and rinse your mouth with water immediately afterward.
Brushing, Flossing, and Oral Care Tips
Your daily oral care routine directly impacts how long your whitening results last. Brush twice daily with a soft-bristled toothbrush using gentle circular motions.
Aggressive brushing can irritate sensitive teeth and damage enamel that’s still recovering from treatment.
Floss at least once per day to remove food particles and plaque between teeth where stains often develop. These areas are harder to whiten, so keeping them clean prevents visible contrast lines.
Stay well hydrated by drinking plenty of water throughout the day. Your saliva contains natural minerals that help remineralize your enamel and reduce post-whitening sensitivity.
Eight glasses daily supports both your oral health and the stability of your whitening results.
Using Whitening Toothpaste and Touch-Up Products
Whitening toothpaste helps maintain your brightness between professional treatments.
These products contain mild abrasives and low concentrations of peroxide that polish away surface stains without causing the sensitivity of full whitening sessions.
Use whitening toothpaste once daily in the weeks leading up to your event. On the morning of your big day, brushing with whitening toothpaste gives your smile a fresh, clean appearance without any treatment risks.
Whitening strips or whitening pens work well for strategic touch-ups. Plan your final touch-up session three to five days before your event to hit the peak brightness window.
This timing allows your enamel to settle while keeping your results at their sharpest. Never whiten the day before your event, as sensitivity could interfere with your comfort during photos and celebrations.
Tips for a Camera-Ready Smile on the Big Day
The final days before your event require careful attention to protect your whitening results and keep your smile looking its best.
Avoid staining foods and drinks while maintaining good habits that preserve your bright teeth throughout the celebration.

What to Do (and Not Do) 24-48 Hours Before Your Event
The first 24 to 48 hours after wedding teeth whitening treatments are the most important for locking in your results.
Your enamel is more porous right after whitening, which means it absorbs stains more easily during this window.
Stick to a white diet during this time. Eat light-colored foods like plain chicken, rice, cauliflower, bananas, and white fish. Drink plenty of water to stay hydrated and rinse your mouth after meals.
Foods and drinks to avoid:
- Coffee and tea
- Red wine and dark sodas
- Berries and tomato sauce
- Soy sauce and balsamic vinegar
- Chocolate and dark-colored candies
Switch to a whitening toothpaste designed for sensitive or whitened teeth. This helps maintain your results without causing irritation.
Brush gently twice a day and floss daily to remove any particles that could cause staining.
Don’t schedule your whitening treatment too close to your wedding day. Whitening teeth too late can lead to sensitivity that makes smiling uncomfortable during your event.
Keeping Your Smile Bright Throughout the Celebration
Your teeth whitening before a wedding won’t be complete without a plan for the actual event. Bring touch-up tools with you to stay photo-ready all day and night.
Pack a small bag with dental essentials. Include a travel toothbrush, whitening toothpaste, dental floss, and sugar-free mints or gum. These items help you freshen up between photos and meals.
If you’re drinking red wine or coffee at your event, use a straw when possible to minimize contact with your front teeth. Rinse your mouth with water after consuming dark beverages or foods.
This simple habit washes away staining particles before they settle into your enamel.
Take breaks to brush or at least rinse your mouth, especially after meals. Even a quick 30-second rinse in the bathroom can make a difference in maintaining your bright smile throughout the day.
Your post-whitening care efforts will pay off when you see your beautiful photos later.
Frequently Asked Questions
Most people start whitening 2-6 weeks before their event, though professional treatments work faster than at-home options.
Sensitivity, staining foods, and existing dental work all require special consideration during the whitening process.
How far in advance should I start whitening my teeth before my wedding or a big event?
You should start whitening your teeth 2 to 6 weeks before your wedding or big event. This gives you enough time to get the results you want and lets any sensitivity go away before your special day.
If you choose professional whitening at a dental office, you can start closer to your event since results show up faster. Starting 2 to 3 weeks before the wedding works well for most whitening methods.
At-home whitening kits take longer to show full results. You’ll want to begin 4 to 6 weeks out if you’re using strips or trays at home.
Starting early also gives you time to do touch-up treatments if needed. You can make adjustments without rushing right before your event.
Which whitening option is best if I only have a few weeks before the event—professional treatment, take-home trays, or strips?
Professional in-office whitening is your best choice when time is short. You’ll see results in just one appointment, which usually takes about an hour.
Dentist-provided take-home trays work well if you have 2 to 3 weeks. These custom trays use stronger whitening gel than store-bought options and give you more control over the process.
Over-the-counter strips are the slowest option and need 2 to 4 weeks of daily use. They work for mild staining but won’t give you dramatic results if you’re starting close to your event date.
Professional treatment costs more but delivers the fastest and most noticeable whitening. This makes it worth the extra money when your timeline is tight.
How long do whitening results typically last, and what can I do to keep my smile bright through the event day?
Professional whitening results usually last 6 months to 2 years depending on your habits. At-home whitening typically lasts 3 to 6 months before you notice fading.
Your results last longer when you avoid foods and drinks that stain teeth. Coffee, red wine, tea, and dark sodas can make your teeth lose their brightness faster.
Brushing twice daily and using whitening toothpaste helps maintain your results. You can also use touch-up treatments every few months to keep your smile looking fresh.
Schedule your whitening appointment about 2 weeks before your event to give your teeth recovery time. This timing helps your results look their best while any sensitivity fades away.
What should I do if my teeth become sensitive while whitening before an important occasion?
Stop whitening for a day or two if you notice sensitivity. Your teeth need time to recover before you continue treatment.
Use toothpaste made for sensitive teeth starting a week before you begin whitening. This helps protect your teeth and can prevent sensitivity from happening in the first place.
Apply the whitening product for shorter periods than the instructions suggest. You can gradually increase the time as your teeth adjust to the treatment.
Talk to your dentist if sensitivity becomes painful or doesn’t go away. They can recommend desensitizing gels or adjust your whitening plan to be more comfortable.
Can I still drink coffee, tea, or red wine while whitening, or should I avoid staining foods and drinks?
You should avoid staining foods and drinks during your whitening treatment for the best results. Your teeth are more porous right after whitening, which makes them pick up stains more easily.
Coffee, tea, red wine, cola, and dark berries are the biggest culprits for staining. Tomato sauce, soy sauce, and curry can also discolor your newly whitened teeth.
Wait at least 48 hours after each whitening session before having these items. If you must have them, use a straw for drinks and rinse your mouth with water right after.
Smoking also stains teeth quickly and reverses whitening results. Avoiding tobacco gives you the best chance of keeping your smile bright through your event.
Is it safe to whiten if I have crowns, veneers, bonding, or fillings—and will they match my natural teeth?
Whitening products don’t work on crowns, veneers, bonding, or fillings. These dental restorations stay the same color no matter what whitening treatment you use.
Your natural teeth will get whiter, but your dental work will remain its original shade. This can create a color mismatch that’s noticeable when you smile.
Talk to your dentist before whitening if you have visible restorations in the front of your mouth. They can help you decide if whitening makes sense or if you need to replace your dental work to match your desired shade.
If you’re planning to get new crowns or veneers, whiten your natural teeth first. Your dentist will then match the new restorations to your whitened teeth for an even appearance.